Full Disk Access
Starting from version 10.14 (Mojave), macOS introduced additional barriers to protect privacy-sensitive data on your disk – such as Photos, Contacts, Calendar etc. – from unauthorized access by third-party applications.
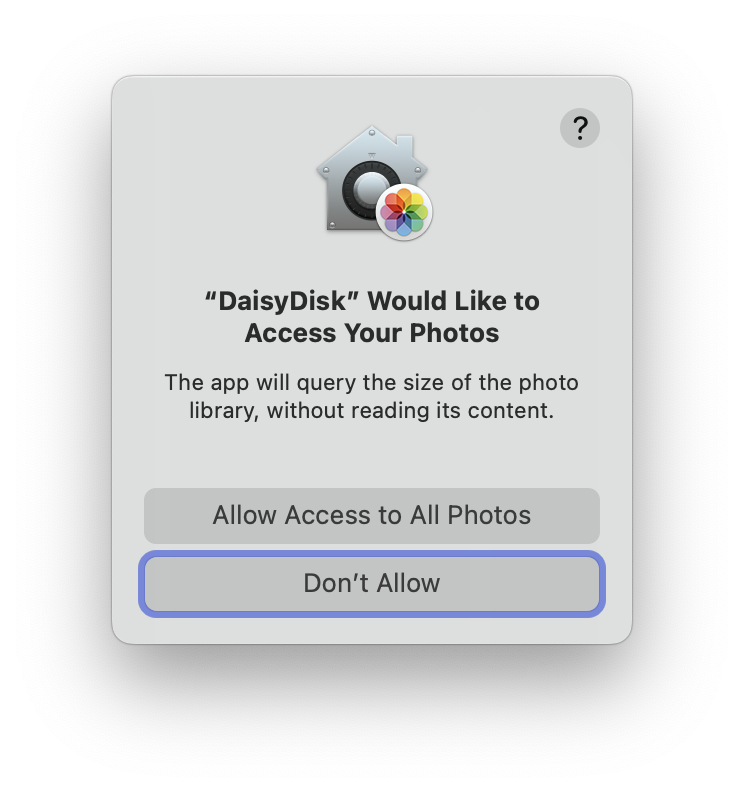
When an application attempts to access such data for the first time, you will see a system prompt asking your permission on behalf of the application. Your answer is then stored and can be managed in System Preferences > Security & Privacy > Privacy.

If you deny the access, DaisyDisk will be unable to estimate the size of the corresponding data, and the unaccounted space will be included into the hidden space. If, by contrast, you want to reveal as much hidden space as possible, you can allow DaisyDisk to access your data.
DaisyDisk only reads metadata of your files — their names and sizes, without reading the actual content. Unfortunately, macOS doesn’t make the distinction and still shows the privacy prompts, making it seem as if your data would be accessed, which is not the case.
To make sure DaisyDisk scans your entire disk, you can grant DaisyDisk the so-called full disk access, which is equivalent to answering “yes” to all the privacy prompts. To do so, you should add DaisyDisk to the list located at System Preferences > Security & Privacy > Privacy > Full Disk Access. This approach is recommended in Apple’s official WWDC 2018 video which mentions DaisyDisk as an example (begin at 9:22)
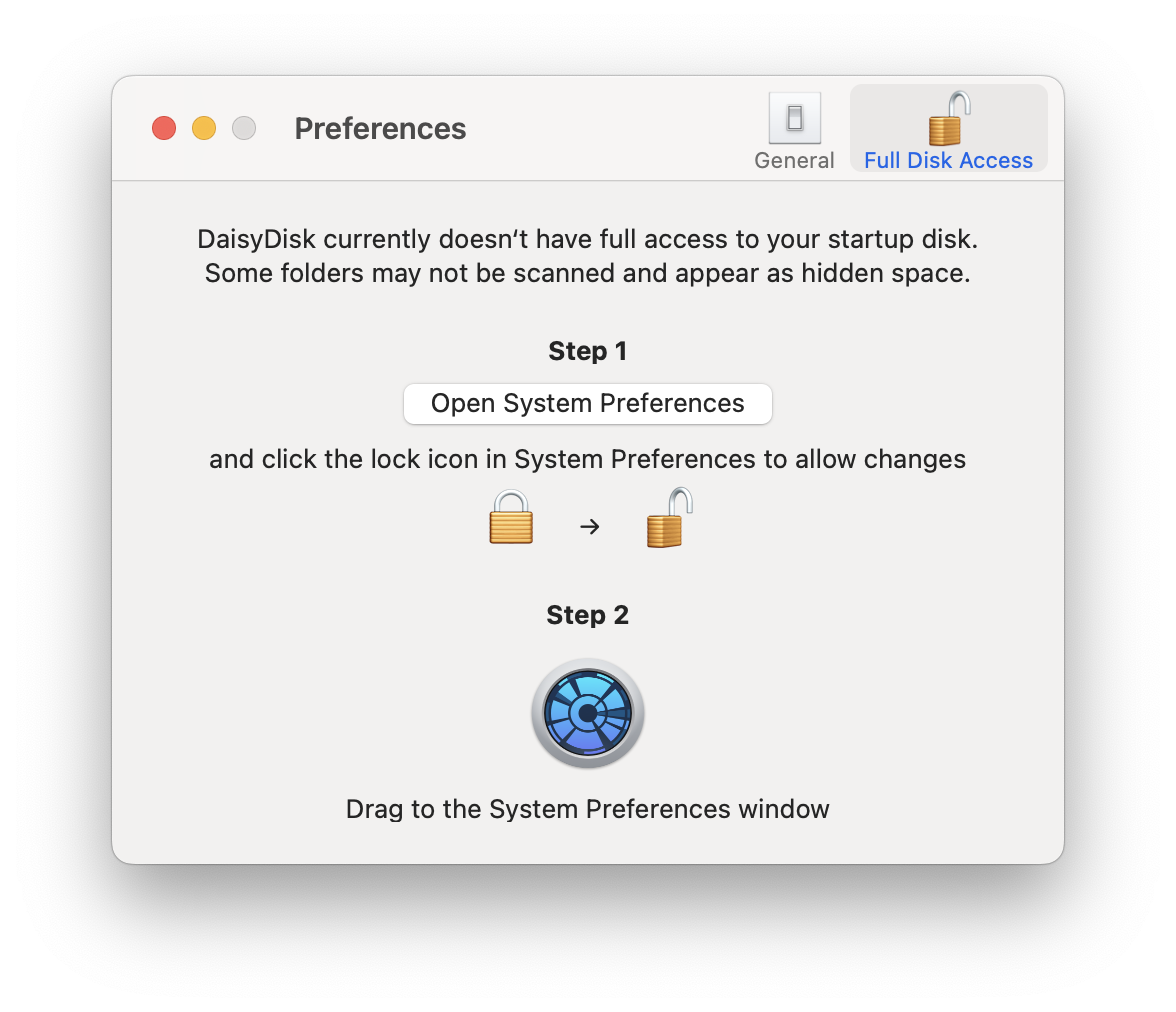
The most convenient way to do this is to select the DaisyDisk > Preferences… menu command and open the Full Disk Access tab. There you will see whether DaisyDisk currently has the full disk access, and if not, you can follow the instructions to grant it.

Start dragging the bouncing DaisyDisk icon, and the System Preferences window will open, showing the target Full Disk Access tab where you should add DaisyDisk. Make sure you unlock the window for making changes, and then you can drag-and-drop DaisyDisk to that list.
Afterwards, relaunch DaisyDisk for the changes to take effect, and you will see in DaisyDisk’s Full Disk Access window that the app now has the full disk access. Proceed to scan your disk again and you’ll notice that the amount of hidden space has decreased or disappeared entirely.