Disk overview, scanning
The big picture
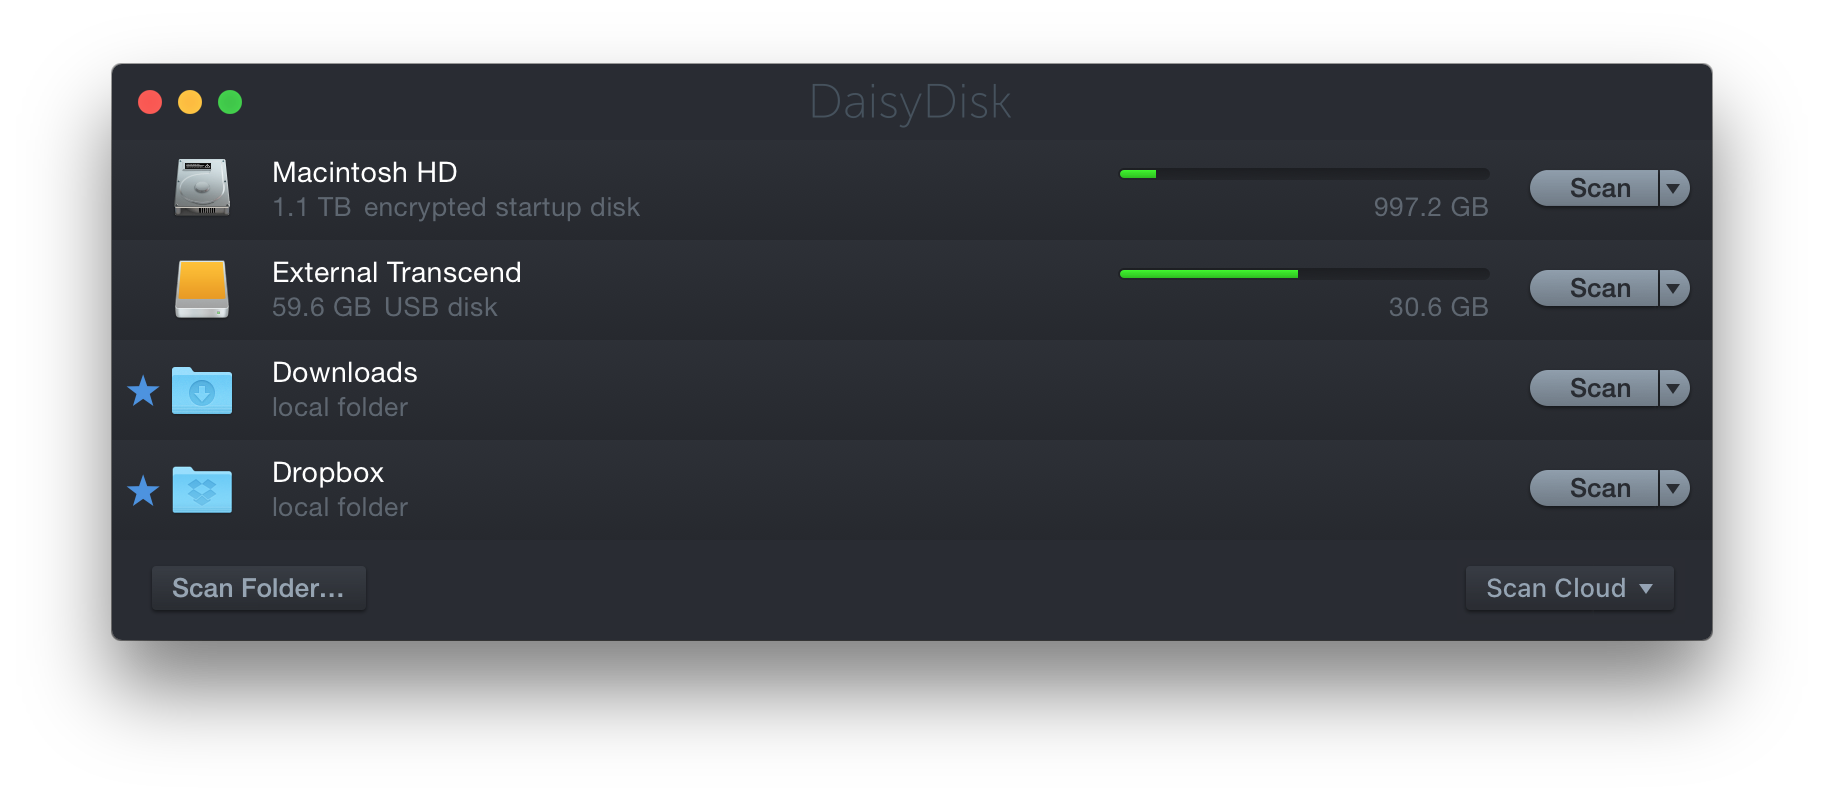
Upon launch, DaisyDisk displays the list of all volumes mounted on your Mac with your startup disk at the top:

You can easily tell which disks are running out of free space by taking a brief look at disk usage gauges. Green color means at least half of your disk is empty, red is often a clear call to action. The only number below the gauge tells you how much space is left, and pointing the mouse at it also reveals the amount of used space.
Note: the space gauge adds the purgeable space to its empty part, for consistency with macOS’s Finder and Disk Utility, and also to assume that the purgeable space will be quickly reclaimed by macOS when apps request it. You can press ⌥ on the keyboard to view the gauge with the purgeable space included into the filled part.
Prior to macOS High Sierra, the space gauge includes purgeable space into the filled part by default.
Scanning
To find out what exactly takes up your disk space you need to scan the disk first.
You can scan whole disks or individual folders. In the latter case scanning takes less time due to a smaller number of files.
To scan a disk click the Scan button next to the gauge or simply drag-and-drop the disk from Finder to DaisyDisk’s window or Dock icon. Folders can be scanned by clicking the Scan Folder… button or by drag-and-dropping them from Finder.
The scan process usually takes from a few seconds to a couple of minutes, mostly depending on the disk type and the number of files and folders on it. Modern SSD disks get scanned within a few seconds, older rotational HDDs take around 2 minutes, network shares, virtual disks or Time Machine backups often take longer to scan.
If you frequently scan a folder, click on its icon to star it. Starred folders remain pinned to the list of disks after you restart the application.